 Hyperlinks to websites, FTP servers or email
addresses
Hyperlinks to websites, FTP servers or email
addressesYou can add attachments and/or hyperlinks to individual topics on the agenda. When the meeting is running, all attendees can access the attachments or hyperlinks by clicking the paperclip icon in the topic pane to download them or display their content.
An attachment can be any file type. You can insert the following hyperlink types:
 Hyperlinks to websites, FTP servers or email
addresses
 Hyperlinks to files stored on any OneDrive
or SharePoint cloud account, if your administrator has enabled this
 Hyperlinks to files stored on local SharePoint
sites, if your administrator has added any sites to the list of available
workspaces
![]() Make sure
that all attendees can access and open the file type used before adding
an attachment or a hyperlink to a file. If you add a MatchWare MindView
mind map file, for example, users will only be able to view the mind map
if they have MatchWare MindView or another program that will open MindView
files. If you add a hyperlink to an FTP server or a OneDrive or SharePoint
account, users will only be able to access and view content if they have
access to the location you link to.
Make sure
that all attendees can access and open the file type used before adding
an attachment or a hyperlink to a file. If you add a MatchWare MindView
mind map file, for example, users will only be able to view the mind map
if they have MatchWare MindView or another program that will open MindView
files. If you add a hyperlink to an FTP server or a OneDrive or SharePoint
account, users will only be able to access and view content if they have
access to the location you link to.
![]() For more
information on enabling access to OneDrive or SharePoint cloud accounts
and adding local SharePoint sites to the list of available workspaces,
see "Managing
workspaces" in the Administrator Guide.
For more
information on enabling access to OneDrive or SharePoint cloud accounts
and adding local SharePoint sites to the list of available workspaces,
see "Managing
workspaces" in the Administrator Guide.
![]() Do not attach
or insert hyperlinks to websites, servers or files that are unsafe! Always
make sure that the site or file you are attaching or linking to does not
contain viruses (for instance, by having your anti-virus software evaluate
it) before connecting to it from MeetingBooster.
Do not attach
or insert hyperlinks to websites, servers or files that are unsafe! Always
make sure that the site or file you are attaching or linking to does not
contain viruses (for instance, by having your anti-virus software evaluate
it) before connecting to it from MeetingBooster.
 Select
the topic where the attachment is to be added.
 Click Attachment
![]() and select the desired attachment
and select the desired attachment
![]() The attachment
is shown using its file name. You may want to notify all attendees exactly
what the attached file contains, especially if you add several attachments
to the same topic, or if the attachments have file names that are hard
to distinguish from one another or may not immediately make sense to the
attendees.
The attachment
is shown using its file name. You may want to notify all attendees exactly
what the attached file contains, especially if you add several attachments
to the same topic, or if the attachments have file names that are hard
to distinguish from one another or may not immediately make sense to the
attendees.
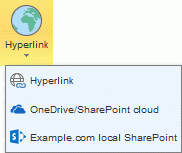
 Click Hyperlink
![]() and select Hyperlink
on the drop-down.
and select Hyperlink
on the drop-down.
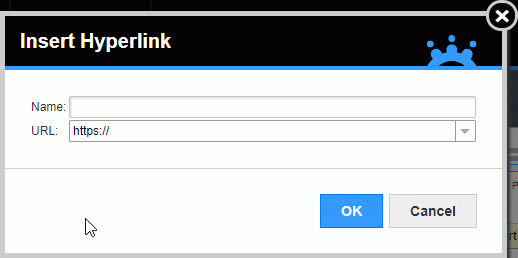
 Enter
a name for the hyperlink.
 (Optional) Click the arrow at the far end of the URL field to select a different
protocol (for example if you need to link to an FTP server).
 Enter the URL for the hyperlink.
 Click
OK.
 Click Hyperlink
![]() and select the cloud option
and select the cloud option
![]() .
.
![]() The exact name of the cloud option is selected by your administrator.
The exact name of the cloud option is selected by your administrator.
 In the browser window that opens, sign into the account
you want to use. By doing so, you allow MeetingBooster to access the account.
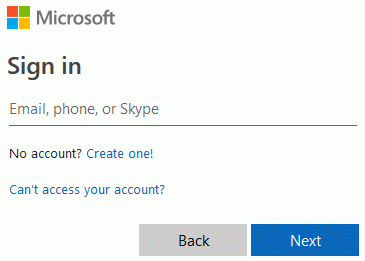
 Locate the file you want to link to, and select it.
![]() To link
to more than one file, you must repeat this procedure for every file.
To link
to more than one file, you must repeat this procedure for every file.
 Click Hyperlink
![]() and select the name of the
local SharePoint site on the drop-down.
and select the name of the
local SharePoint site on the drop-down.
Your administrator may have added several local SharePoint sites that you can choose from.
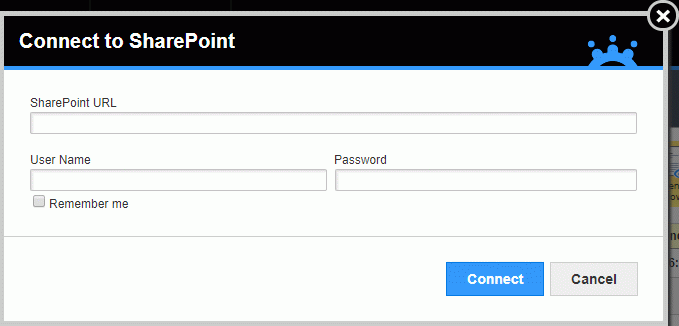
 Enter
a URL and login credentials for the SharePoint server.
 If
you want the application to remember your login credentials, select the
Remember me check box.
 Click
Connect.
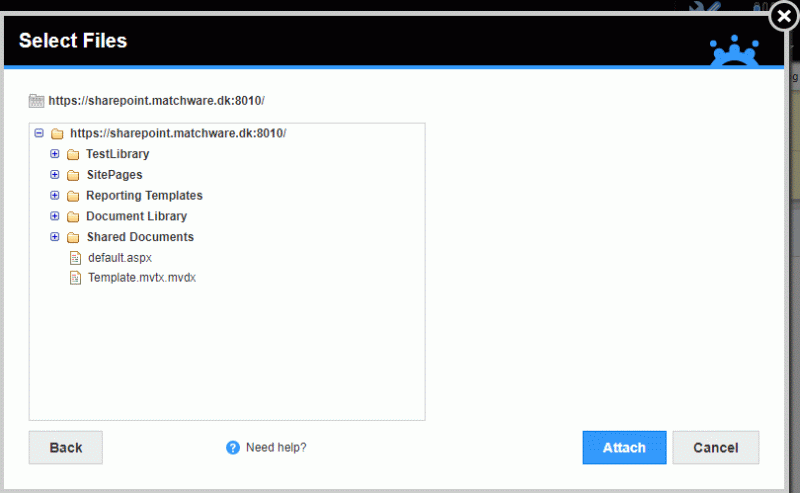
 Browse
to the file you would like to link to, and click Attach.
![]() To link to more than one file, you must
repeat this procedure for every file.
To link to more than one file, you must
repeat this procedure for every file.